
Create Email Address (Web & Mailhosting)
Note: This help article applies only to Mailhosting. If you are not sure which email service you use, you can find more information in the following article.
https://www.green.ch/en/which-email-service-do-i-use
With a Webhosting or Mailhosting package, you can create and manage your own email addresses for your domain.
An email address is not automatically a separate mailbox. An address can be configured as a mailbox, alias, forwarding address or distribution address. A mailbox with a password is required to sign in to Webmail or an email application and to store emails.
Create email address
Requirement: The desired domain must be assigned to the corresponding Webhosting or Mailhosting package.
Note: If the domain has not yet been assigned to the hosting package, no email addresses can be created for this domain.
- Sign in to my.green.ch with your MY username and password.
- Open the Web & Mail Control Panel.
- Select the desired Webhosting or Mailhosting package.
- Open the Emails section.
- Select Email addresses.
- Click SET UP NOW or + CREATE EMAIL ADDRESS.
- Enter the desired name for the email address. This is the part before the @ sign.
- Select the desired function:
- Store emails for a mailbox with its own storage space.
- Forward emails if incoming messages should be forwarded to another email address.
- Enter a password and repeat the entry.
- Alternatively, you can use the key icon to generate a secure password.
- Click Create email address.
Note: The storage quota assigned to the mailbox can be changed later.
Set password
A separate password must be defined for each email address.
You can use the key icon to automatically generate a secure password.
You can use the eye icon to display the password.
Use a secure password in accordance with the current password guidelines.
Note: Make sure that the password is not visible in public environments.
Further information about secure passwords:
https://www.green.ch/en/secure-password
Note down the connection details
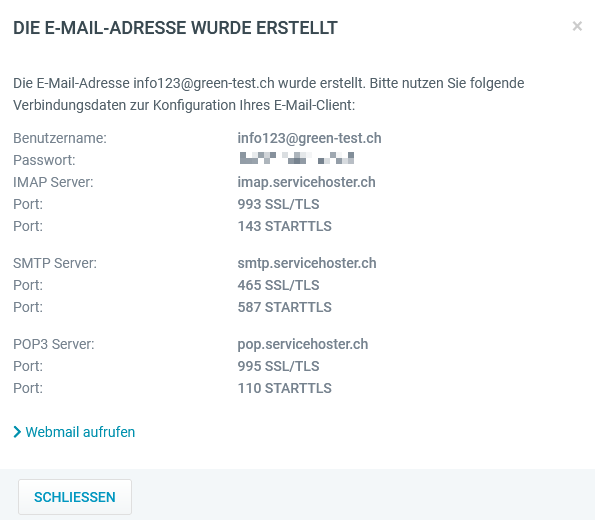
After the email address has been created, the connection details are displayed.
Make a note of these details, as they are required to set up the email address in an email application or on a mobile device.
Test the new mailbox
After creating the mailbox, test signing in to Webmail. A successful login confirms that the mailbox is available and that the password works correctly.
Webmail for Webhosting and Mailhosting is available at:
https://webmail.swisshosting.ch
If the email service does not work with a new subscription, this is usually related to DNS. Check whether your DNS zone is set to automatic and then allow at least two hours before testing again.
Set up an email application
After creating the email address, you can set up the mailbox in Outlook, Apple Mail, Thunderbird, on Android or on the iPhone.
To do this, you need the current connection details for your email service.
Further information:
https://www.green.ch/en/email-connection-details-web-mailhosting
https://www.green.ch/en/setting-up-an-email-application
Use IMAP or POP
IMAP is recommended for new email accounts.
IMAP synchronises emails and folders between multiple devices. POP generally downloads emails locally and is only suitable to a limited extent for use on multiple devices.
Further information:
https://www.green.ch/en/differences-between-imap-and-pop
Related topics
Change or reset the password for an email address:
https://www.green.ch/en/reset-email-password-web-mailhosting
Set up email forwarding:
https://www.green.ch/en/set-up-email-forwarding-in-webmail
Difference between alias, mailbox and forwarding:
https://www.green.ch/en/mail-alias
Create distribution lists:
https://www.green.ch/en/create-an-email-distribution-list
Access the Web & Mail Control Panel:
https://www.green.ch/en/accessing-the-control-panel
Create New Email Address
Sign in to your customer portal using your MY user. Navigate to the Web & Mail Control Panel overview page.
Access to the Web & Mail Control Panel
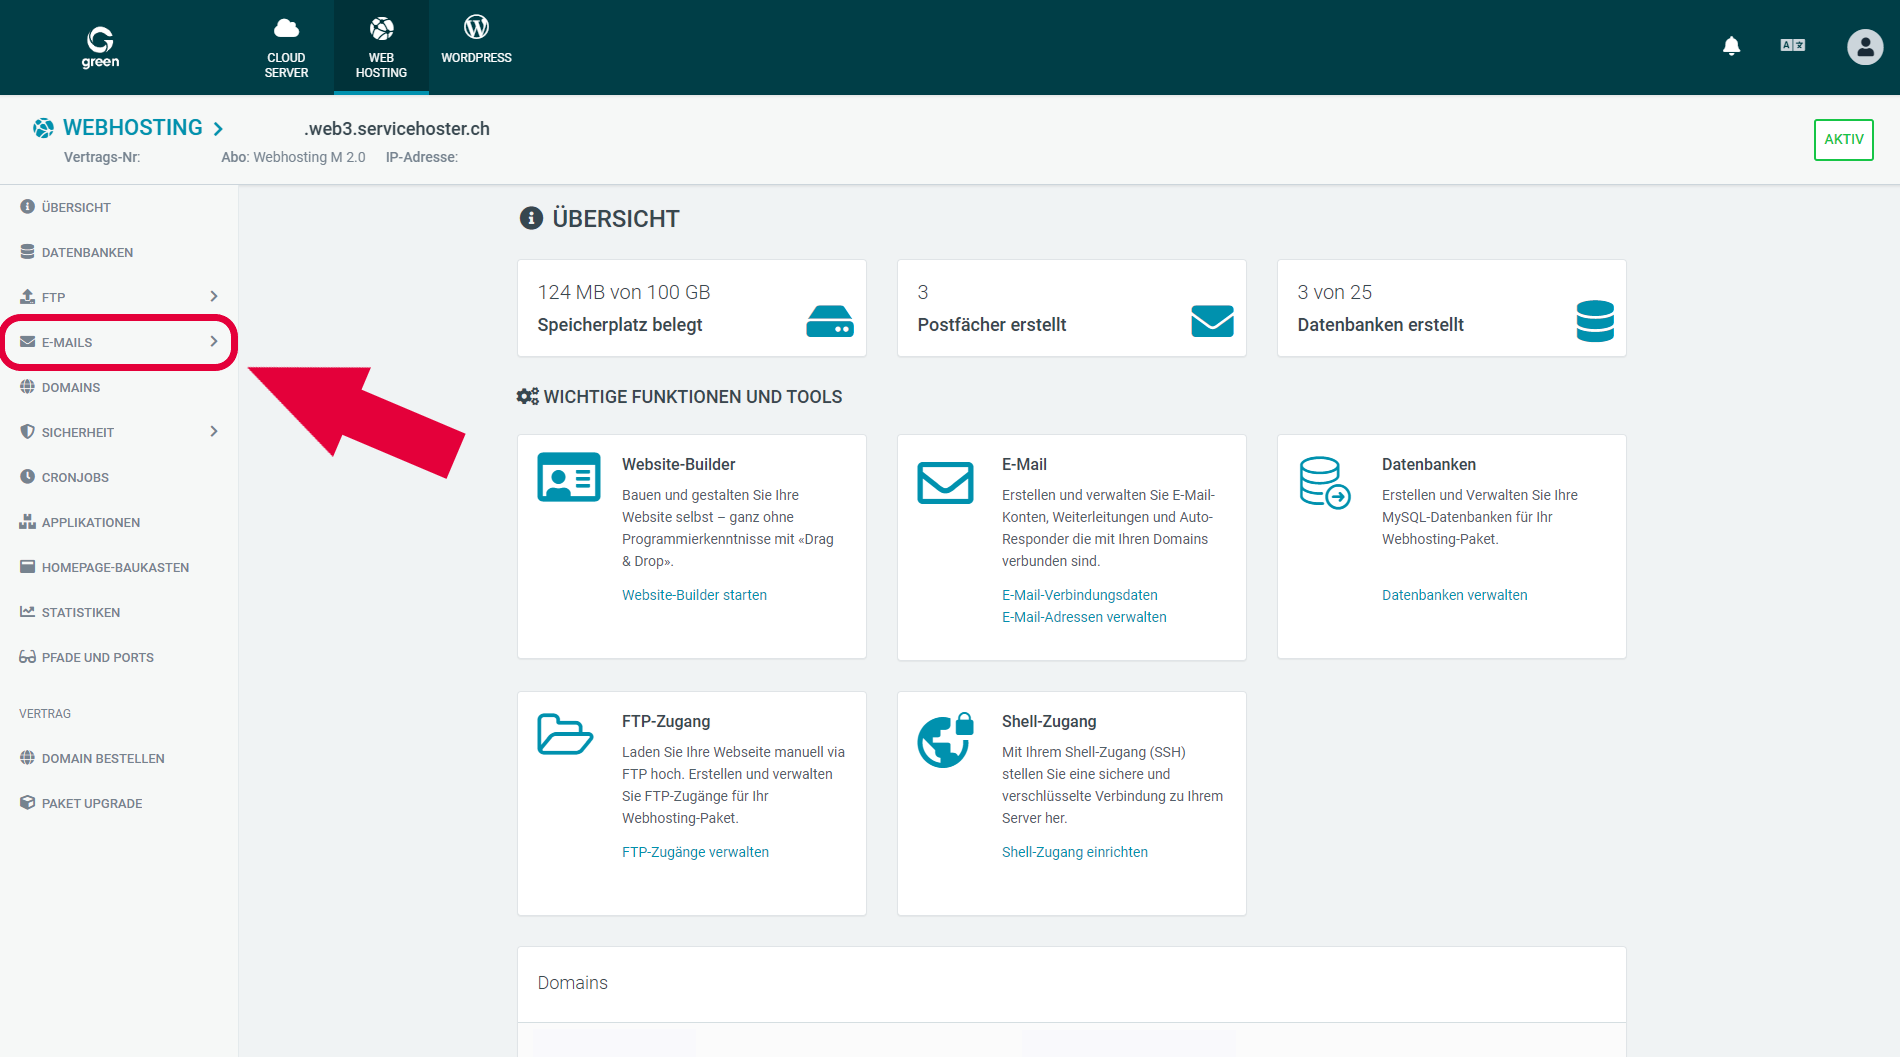
Once you have reached the overview page in the Web & Mail Control Panel, click on the section E-Mails in the left-hand navigation bar.
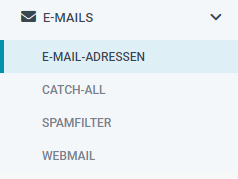
There are four menu items to choose from in the dropdown:
- Email Addresses
- Catch-All
- Spam filter
- Webmail
Click on the button named Email Addresses.
In the newly opened email address window, you will see an overview of all your existing email addresses.
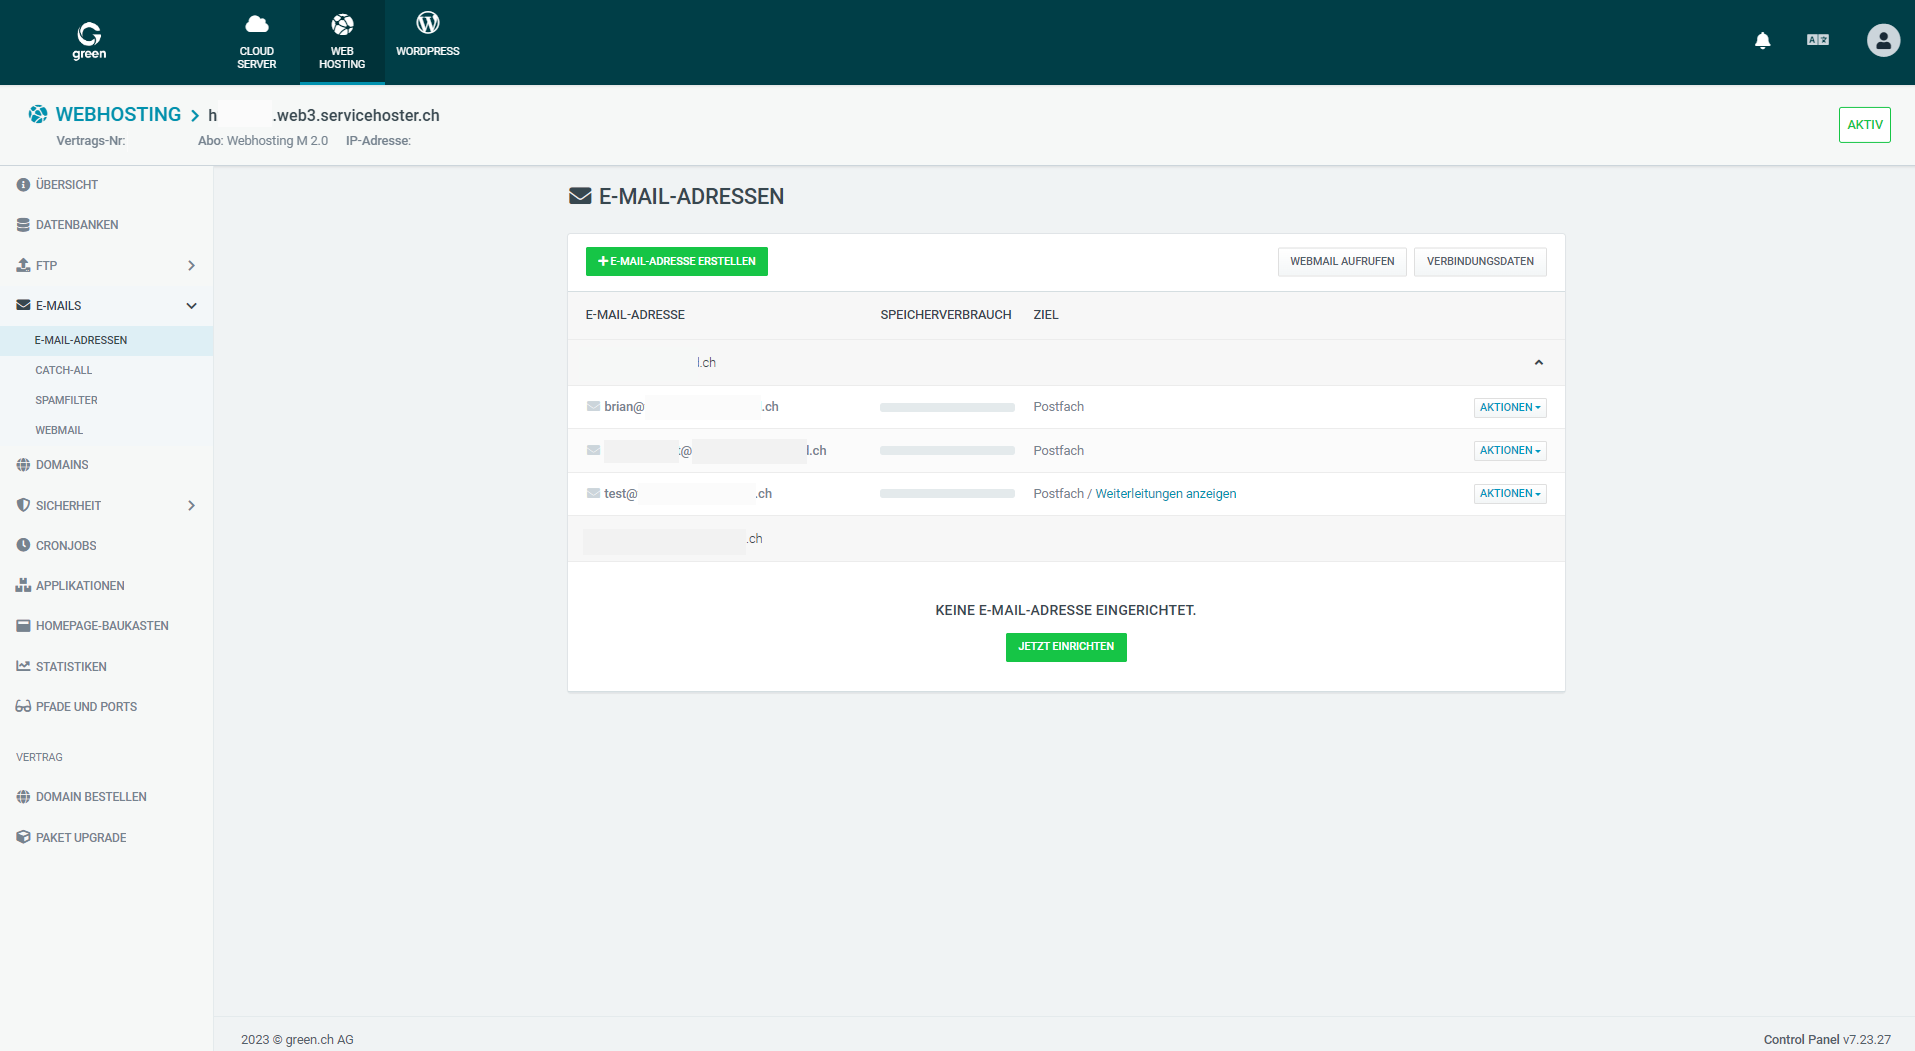
To create a new email address, select the green button +CREATE EMAIL ADDRESS.
Now enter the name of your new email address. This is the name that appears before the @ symbol.
Choose between Save emails and Forward emails. If you want the emails to be sent to the mailbox of another email address, select the second option Forward Emails. The Save emails option is selected by default.
Two new input fields also appear below:
- Password
- Repeat password
Enter your new password here. Repeat the entry in the second field. Make sure that the values you enter are identical.
Note: Please note the minimum requirements for creating a new password.
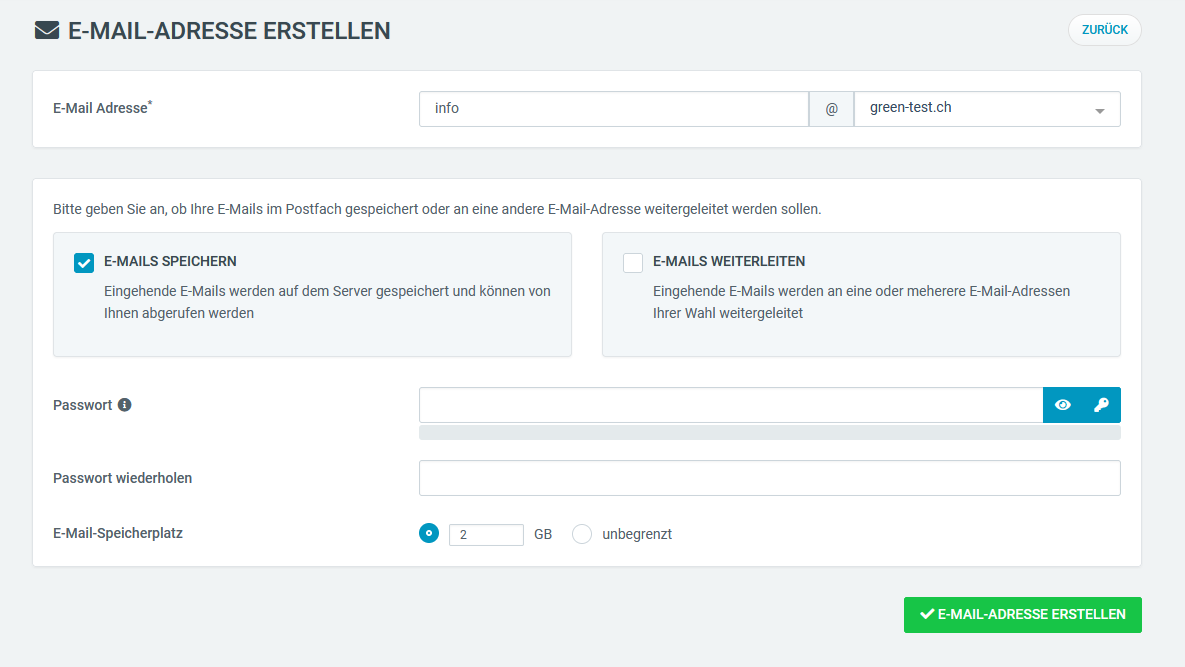
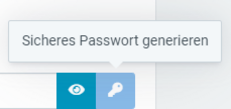
You also have the option of generating a secure password at the touch of a button. To do this, click on the blue icon with the key symbol.
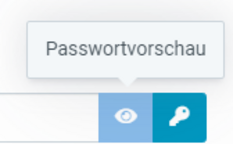
To display your password, click on the blue icon with the eye symbol.
Note: Make sure that your password is never visible in public areas!
Click on Create Email Address to save your changes.
A pop-up window appears with your connection details.
Note: Make a note of the following information displayed in the pop-up window.
Congratulations! You have now created your new email address.