Hosted Exchange - Set Up an Automatic Reply (OWA)
Note: This help article applies only to Hosted Exchange. If you are not sure which email service you use, you can find more information in the following article.
https://www.green.ch/en/which-email-service-do-i-use
The automatic reply function allows you to configure out-of-office messages or other automatic notifications for incoming emails. With Hosted Exchange, you set up the automatic reply directly in Outlook Web Access (OWA).
Sign In to Outlook Web Access
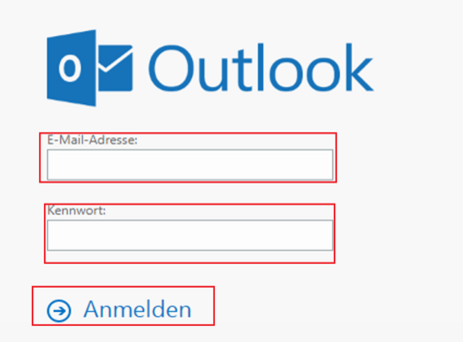
Open Outlook Web Access.
- Sign in using your Hosted Exchange email address and password.
Enable Automatic Replies
- Click the gear icon in the upper-right corner.
- Select Automatic Replies.
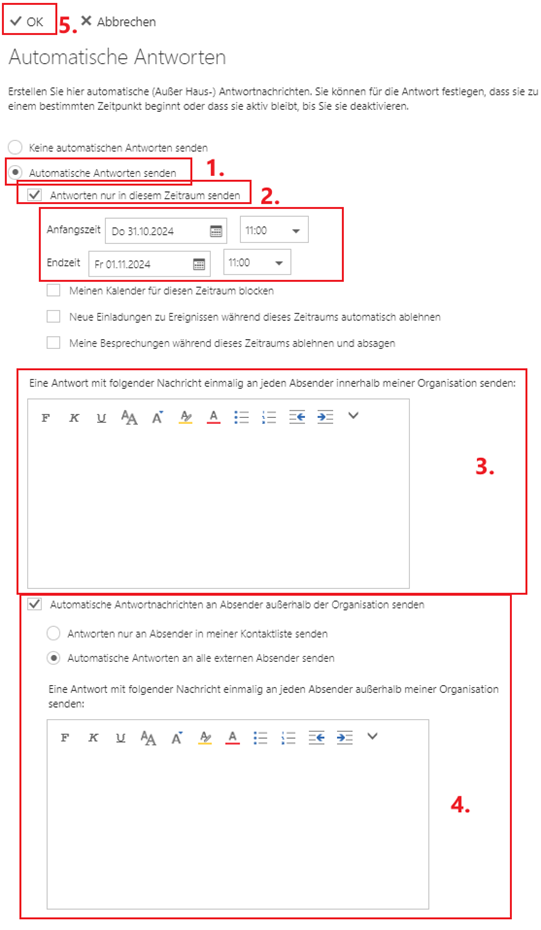
- Select Send automatic replies.
- If required, enable Send automatic replies only during this time period.
- Set the time period during which the automatic reply should be sent.
- Enter the automatic reply for people within your organisation.
- If required, enter an automatic reply for people outside your organisation.
- Click OK to save the settings.
Automatic Reply Behaviour
Automatic replies are not sent to the same sender again for every incoming email.
If a sender has already received an automatic reply while the current configuration is active, no additional automatic reply is normally sent for further emails from the same sender.
If you disable the automatic reply and then enable it again, the history is reset. Senders can then receive an automatic reply again when they send a new email.
If a sender has already received an automatic reply during an active period, the absence of further replies to the same sender does not necessarily mean that the function is faulty.
Test the Automatic Reply
Save the configuration after each change. Then send a test message to the Hosted Exchange mailbox from another email address.
When testing, note that a sender normally receives only one automatic reply under the currently active configuration.
Known Issues with Time Periods
A behaviour has been documented with time-controlled settings where automatic replies may not be sent as expected under certain circumstances.
If you experience problems, temporarily disable the time-controlled settings. Enable the automatic reply without a time period and test the function again.
Note: If automatic replies are still not sent despite the correct configuration, or if only certain senders are affected, contact support. Further checks of the mailbox configuration or message processing may be required for the investigation.
Recommendations for Automatic Replies
- Use clear and concise wording.
- If required, set a time period for the automatic reply.
- Enter separate replies for people within and outside your organisation.
- Save the configuration after each change.
- For a longer absence, avoid unnecessary restrictions caused by additional rules or time periods wherever possible.
Further Information
You can find further information about Hosted Exchange in the following article:
https://www.green.ch/en/all-about-hosted-exchange
Now click the gear icon in the upper-right corner and select “Automatic Replies.”

- Select Send automatic replies
- Select Send automatic replies only during this time period and choose the time period during which the reply should be sent.
- Write the reply that should be sent automatically to people within your organisation.
- Write the reply that should also be sent automatically to people outside your organisation.
- Once everything has been configured, click OK to save.